之前一直使用Resilio Sync感觉还不错,最近需要用到版本控制,Rsync就不满足需求了。所以找到了Syncthing。
项目地址:https://github.com/syncthing/syncthing
下载、解压、移动目录
[root@VI-LA ~]# wget https://github.com/syncthing/syncthing/releases/download/v1.18.2/syncthing-linux-amd64-v1.18.2.tar.gz
[root@VI-LA ~]# tar -xzvf syncthing-linux-amd64-v1.18.2.tar.gz
[root@VI-LA ~]# cp syncthing-linux-amd64-v1.18.2/syncthing /usr/local/bin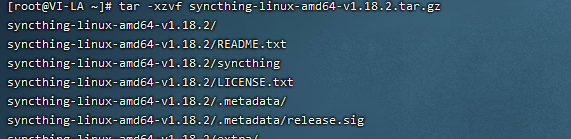
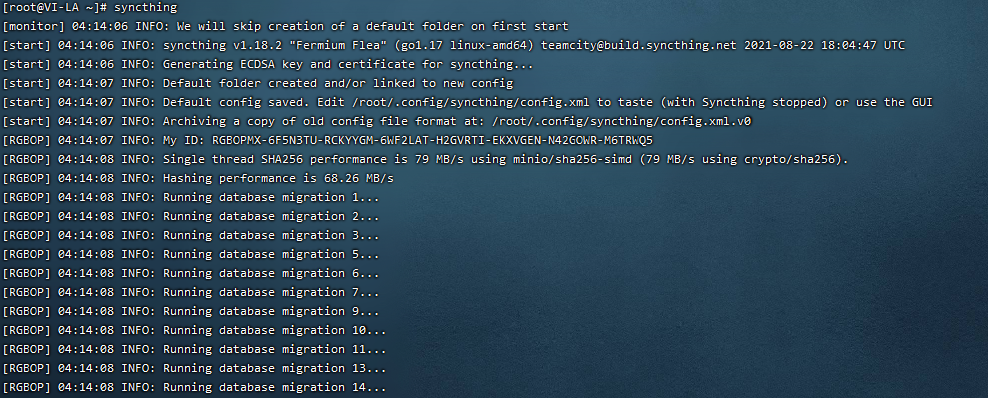
开启Syncthing
[root@VI-LA ~]# syncthing
启动后会生成配置,然后我们需要改内网地址,可以编辑 /root/.config/syncthing/config.xml 文件,将 127.0.0.1:8384 改成 0.0.0.0:8384 或者直接用命令
sed -i 's/127.0.0.1/0.0.0.0/g' '/root/.config/syncthing/config.xml'
重启一下syncthing
[root@VI-LA ~]# syncthing
Ip:8384就能登入到web页面。

最后我们吧服务做成自启动进程。
[root@LegalNegative-VM ~]# cd syncthing-linux-amd64-v1.18.2
[root@LegalNegative-VM syncthing-linux-amd64-v1.18.2]# cp syncthing /usr/bin
[root@LegalNegative-VM ~]# vi /etc/systemd/system/syncthing.service
[root@LegalNegative-VM ~]# systemctl start syncthing
[root@LegalNegative-VM ~]# systemctl enable syncthing


[Unit]
Description=Syncthing - Open Source Continuous File Synchronization
After=network.target

[Service]
User=root
ExecStart=/usr/bin/syncthing -no-restart -logflags=0
Restart=on-failure
SuccessExitStatus=3 4
RestartForceExitStatus=3 4
ProtectSystem=full
PrivateTmp=true
SystemCallArchitectures=native
MemoryDenyWriteExecute=true
NoNewPrivileges=true

[Install]
WantedBy=default.target
最后我们做一下测试。
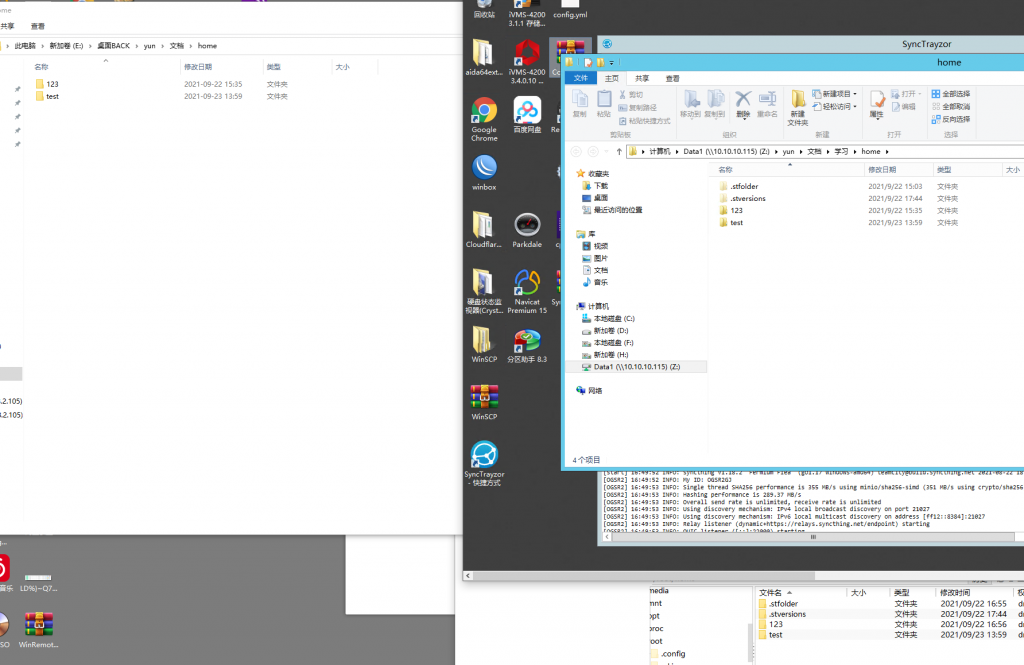
没有问题,实现三地同步。
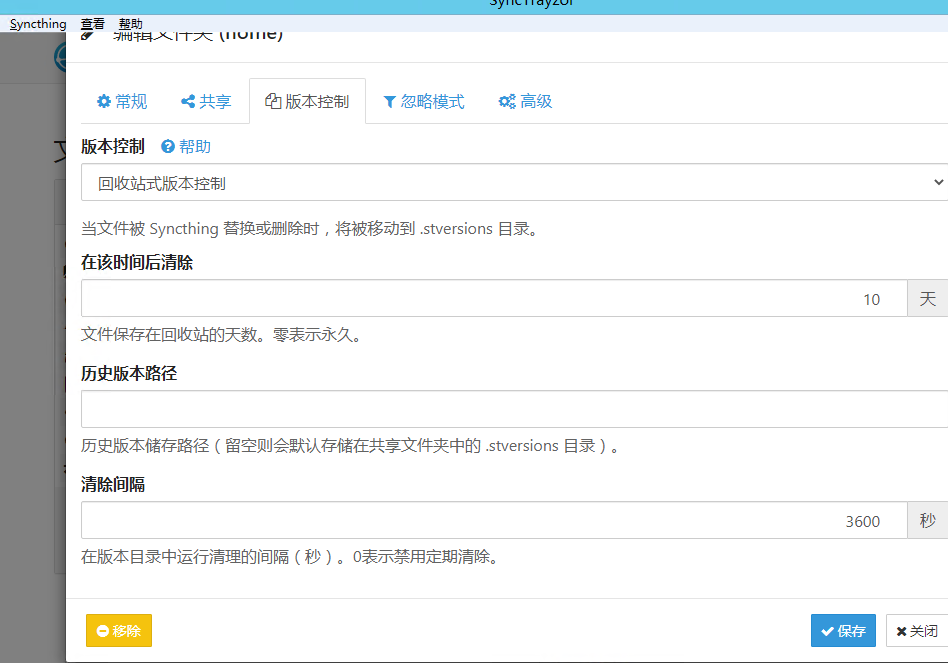
在版本控制这边按照自己的需求做好配置,实现版本控制。